Topaz Clarity Review: A Great Plugin for HDR-Like Results (Without the HDR)
Lately I’ve been doing a lot of photography on golf courses for my new site.
Not gonna lie, it’s a lot of work.
In order to do it right, I’m taking over 300 photos on the course, and every review I do is close to two dozen photos or more. On top of that, I’m often working with midday sun or really cool cloud features that require I use HDR in order to get the shots to come out the way I want.
What does this mean? Time. Lots of time.
Between the 4 hours I spend on the course, and the roughly 6 hours I spend editing photos and writing articles, I’m spending a lot of time working.
That being said, I’ve been thinking for awhile about how nice it would be if there was a plugin that would keep me from having to do full on HDR brackets for every shot, and would still help me bring out the same detail and deal with the poor lighting.
Enter Topaz Clarity.
I’ve been a fan of Topaz for awhile, specifically their fantastic Adjust plugin, so I was excited when I got a beta release version of their new Clarity plugin. I had high hopes, but I wasn’t fully confident it would be able to replace my needs for HDR with the type of work I’ve been doing lately. However after a few days with it, and a bunch of sample photos, I’ve gotta say, I’m impressed.
First Impressions of Topaz Clarity
Upon loading an image in photoshop, it’s easy, as usual to pull up the Clarity screen from the plugins menu. If you’ve used similar plugins in the past, you’ll be right at home with the layout. Presets on the left, a big image screen in the center, and fine adjustments over on the right. 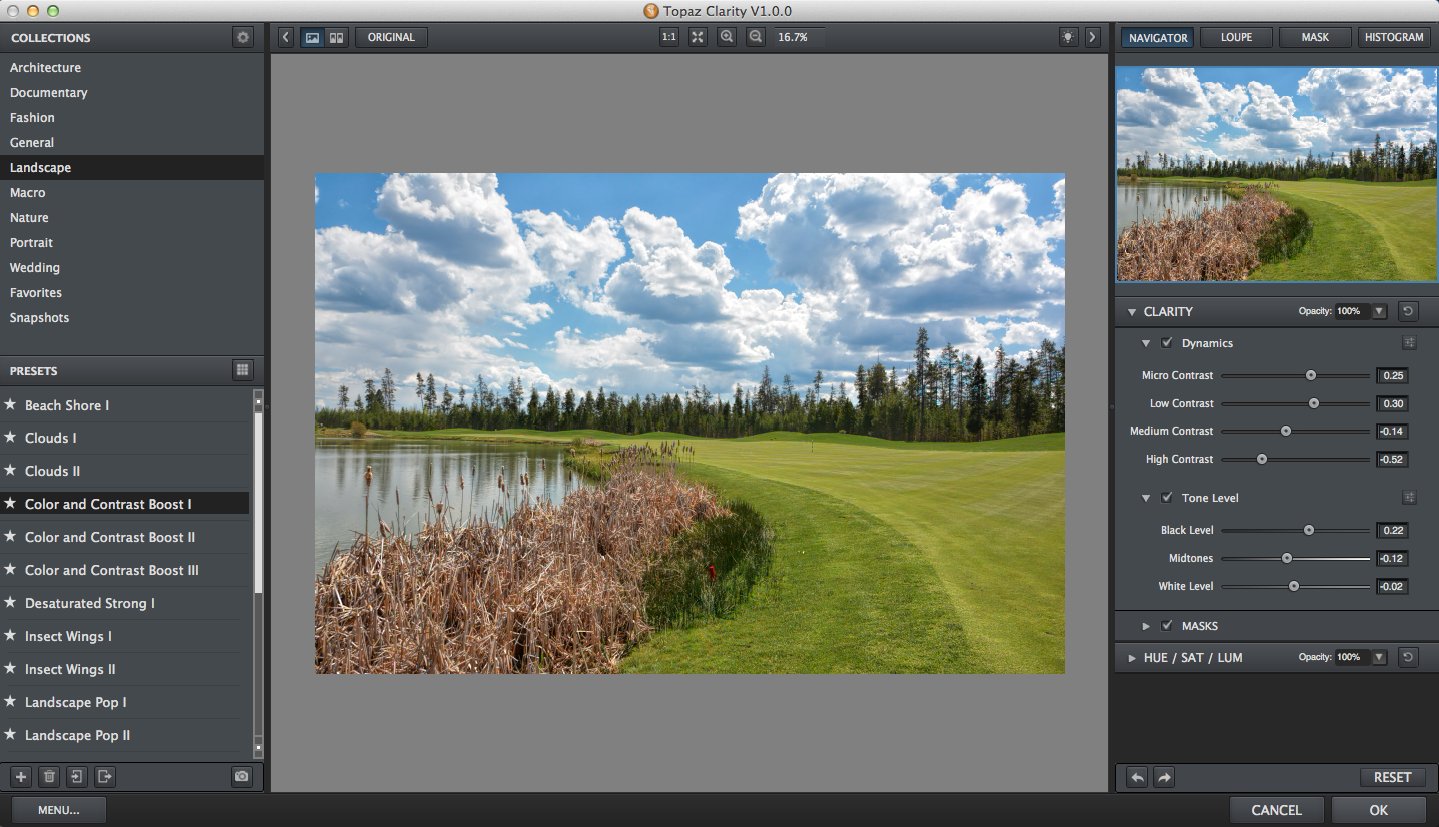
I actually found the presets to be more useful for this software than many of the Nik Software presets I’ve used in the past.
They were less gimicky, and seemed to provide more real world value for what I was trying to accomplish.
Now if you look at the original of this photo, it’s relatively flat. The clouds are there, and I’d been using HDR to pump them up and get a little more structure out of the grass, which is what really makes a golf course or any lawn photo seem more realistic.
All I had to do was select the color and contrast preset, and then adjust the micro contrast tool, and all of a sudden I had a photo that was much more exciting than the initial one I’d been working with – and more importantly, it took a fraction of the time that an HDR image would have taken me.
This is pretty exciting, because when you have to pump out a bunch of these, it can get pretty time consuming. Here was the original of that photo above:
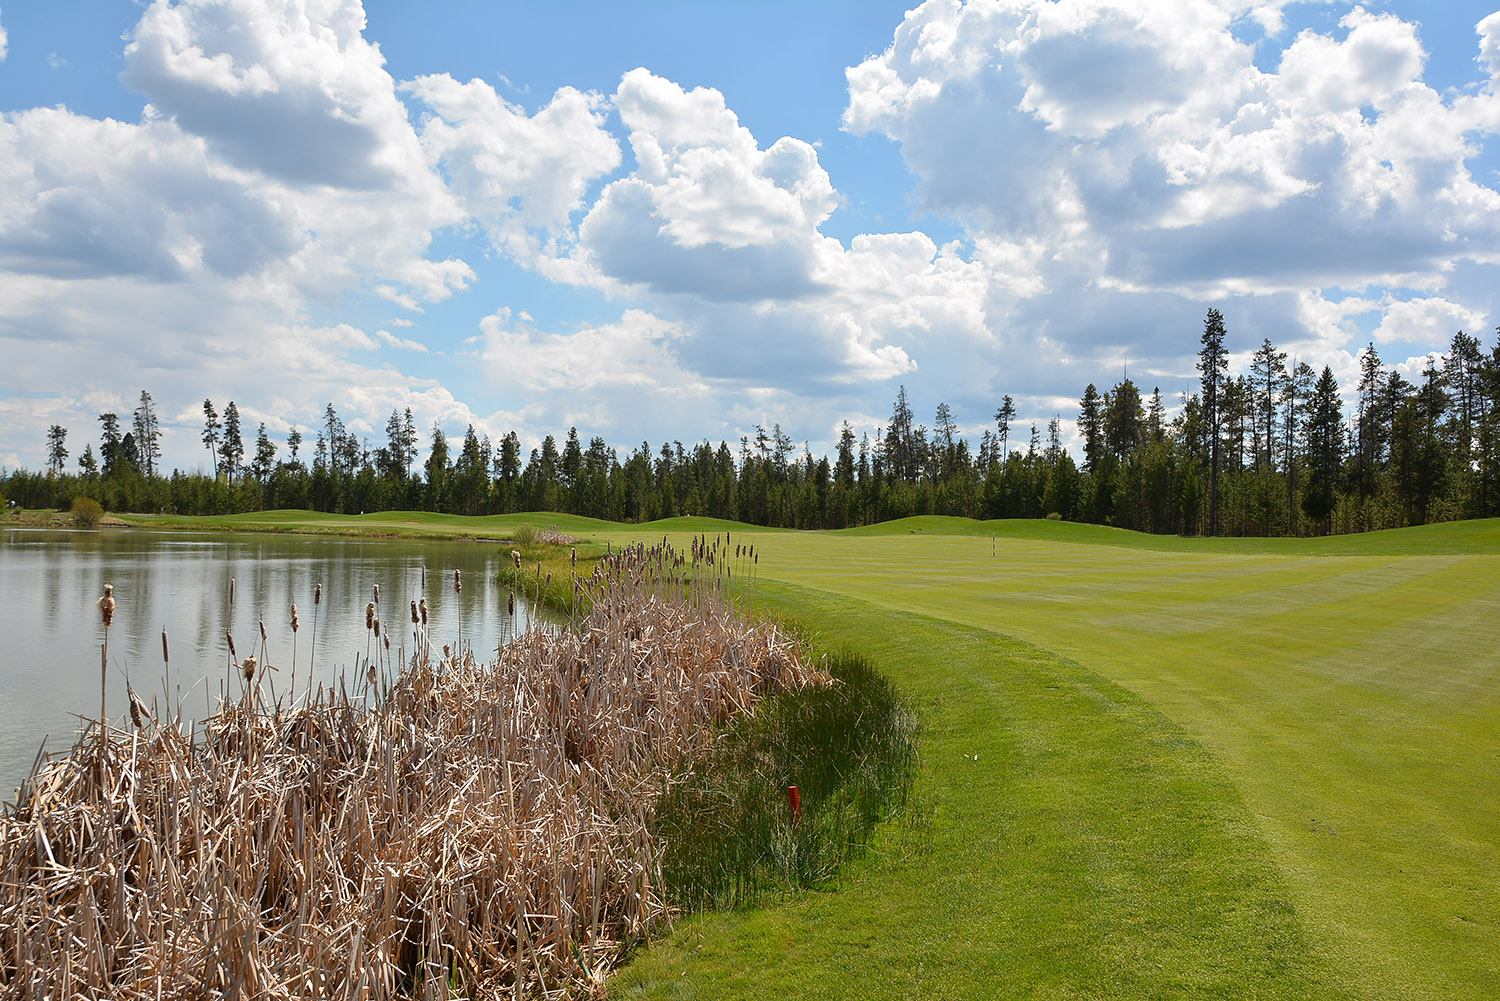
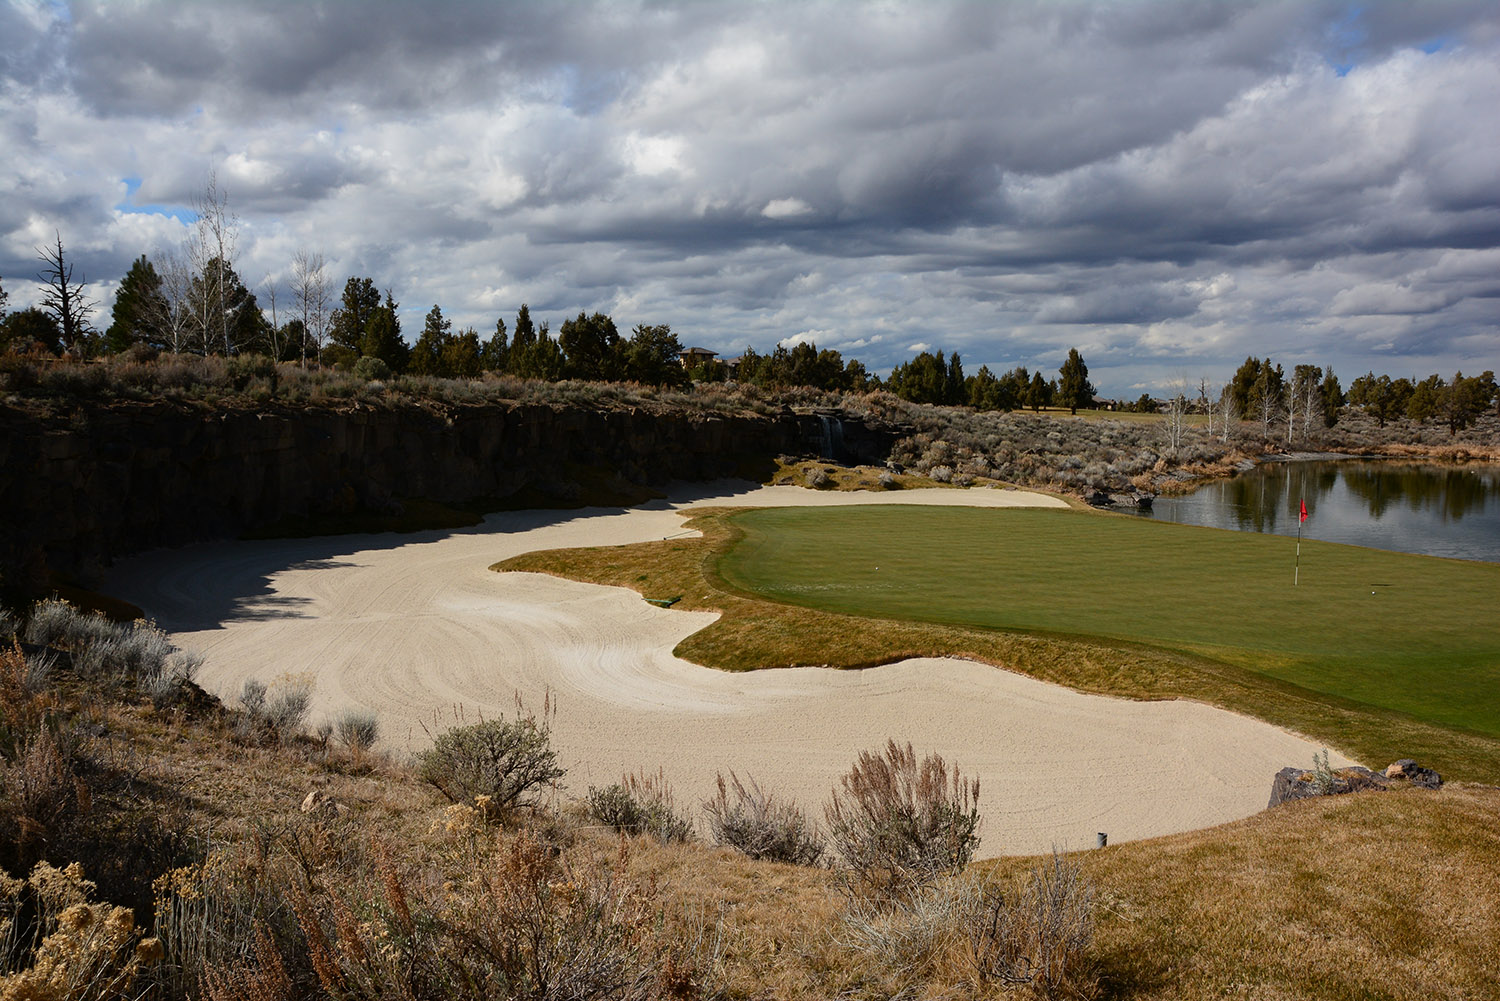
Here are a couple more before and after shots that really show how Topaz Clarity has made my life easier:

- After Topaz Clarity
- Before using Topaz Clarity
As you can tell, there are some pretty dramatic results. If you’re going to be doing a lot of landscape shots, and want to minimize the time you spend in post, this could be an excellent solution.
I think it will definitely be a part of my regular workflow for certain tasks from here on out.
Minor Annoyances
Topaz Clarity is a great piece of software, however it isn’t without some minor annoyances.
The first? Every time I load it up, it has to load each preset individually. So the progress bar is blazing through 20-30 presets every time I fire it up, which can take a good 10 seconds or so. Not a huge deal, but noticeable enough that I thought it was worth mentioning.
I’ve also found it slightly difficult to get exactly the results I want in the plugin. I usually have to end up tweaking either exposure, vibrance, or saturation in Photoshop after making my tweaks in Clarity. This isn’t a big deal, because it’s not a standalone product. You’re using it in Photoshop already, so most people will expect to have make a few tweaks from there.
Do I Recommend Topaz Clarity?
I’ve found Topaz Clarity to be one of the best non-HDR, HDR plugins out there – if that makes sense.
I never experienced any of the halo-ing effects often seen in plugins like this, and it was really easy to add a boost of clarity (pun slightly intended) in many of the photos I’ve been practicing with. I’ll report back as I’ve had more time to use the software, but so far I’m really liking where it’s going, and I’m excited to try it on a broad swath of photos.
Hey Sean,
Read your article on DPS and browsed your site. Yes, I am an ex-HDR-ite who now resorts to more (much more) realistic HDR images. I discovered Clarity thru Deborah Sandidge’s site and was immediately sold. I’ve been a long-time Topaz bundle user, so I began using Clarity. You are correct that halos are not “usually” something you need to worry about; however; I’ve found that if you punch up the Clarity too much, your objects against the sky will have a slightly dark outline…but this is easily corrected by dialing back the micro contrast. Anyway, noticed your shots from the Jersey Shore (looks like AC)…great stuff. I look forward to other articles and I’ve ordered your 50 ways book. If you get a chance, head on over to my site and peruse at your leisure. From one Jersey-ite to another (you ARE from NJ, right?)…all the best.
Frank V.
Thanks Frank – definitely agree with your thoughts on Clarity as I’ve found the same thing.
And you nailed it, that was in Brigantine. Just outside the frame to the left is AC. I’m actually from Portland, Oregon though, a buddy of mine has a house over there.